Team Builds
A Build in Otomi is a self-service feature for building OCI compliant images based on application source code.
Ask your platform administrator to activate Harbor to use this feature.
Builds (all)
All Builds of the team are listed here.
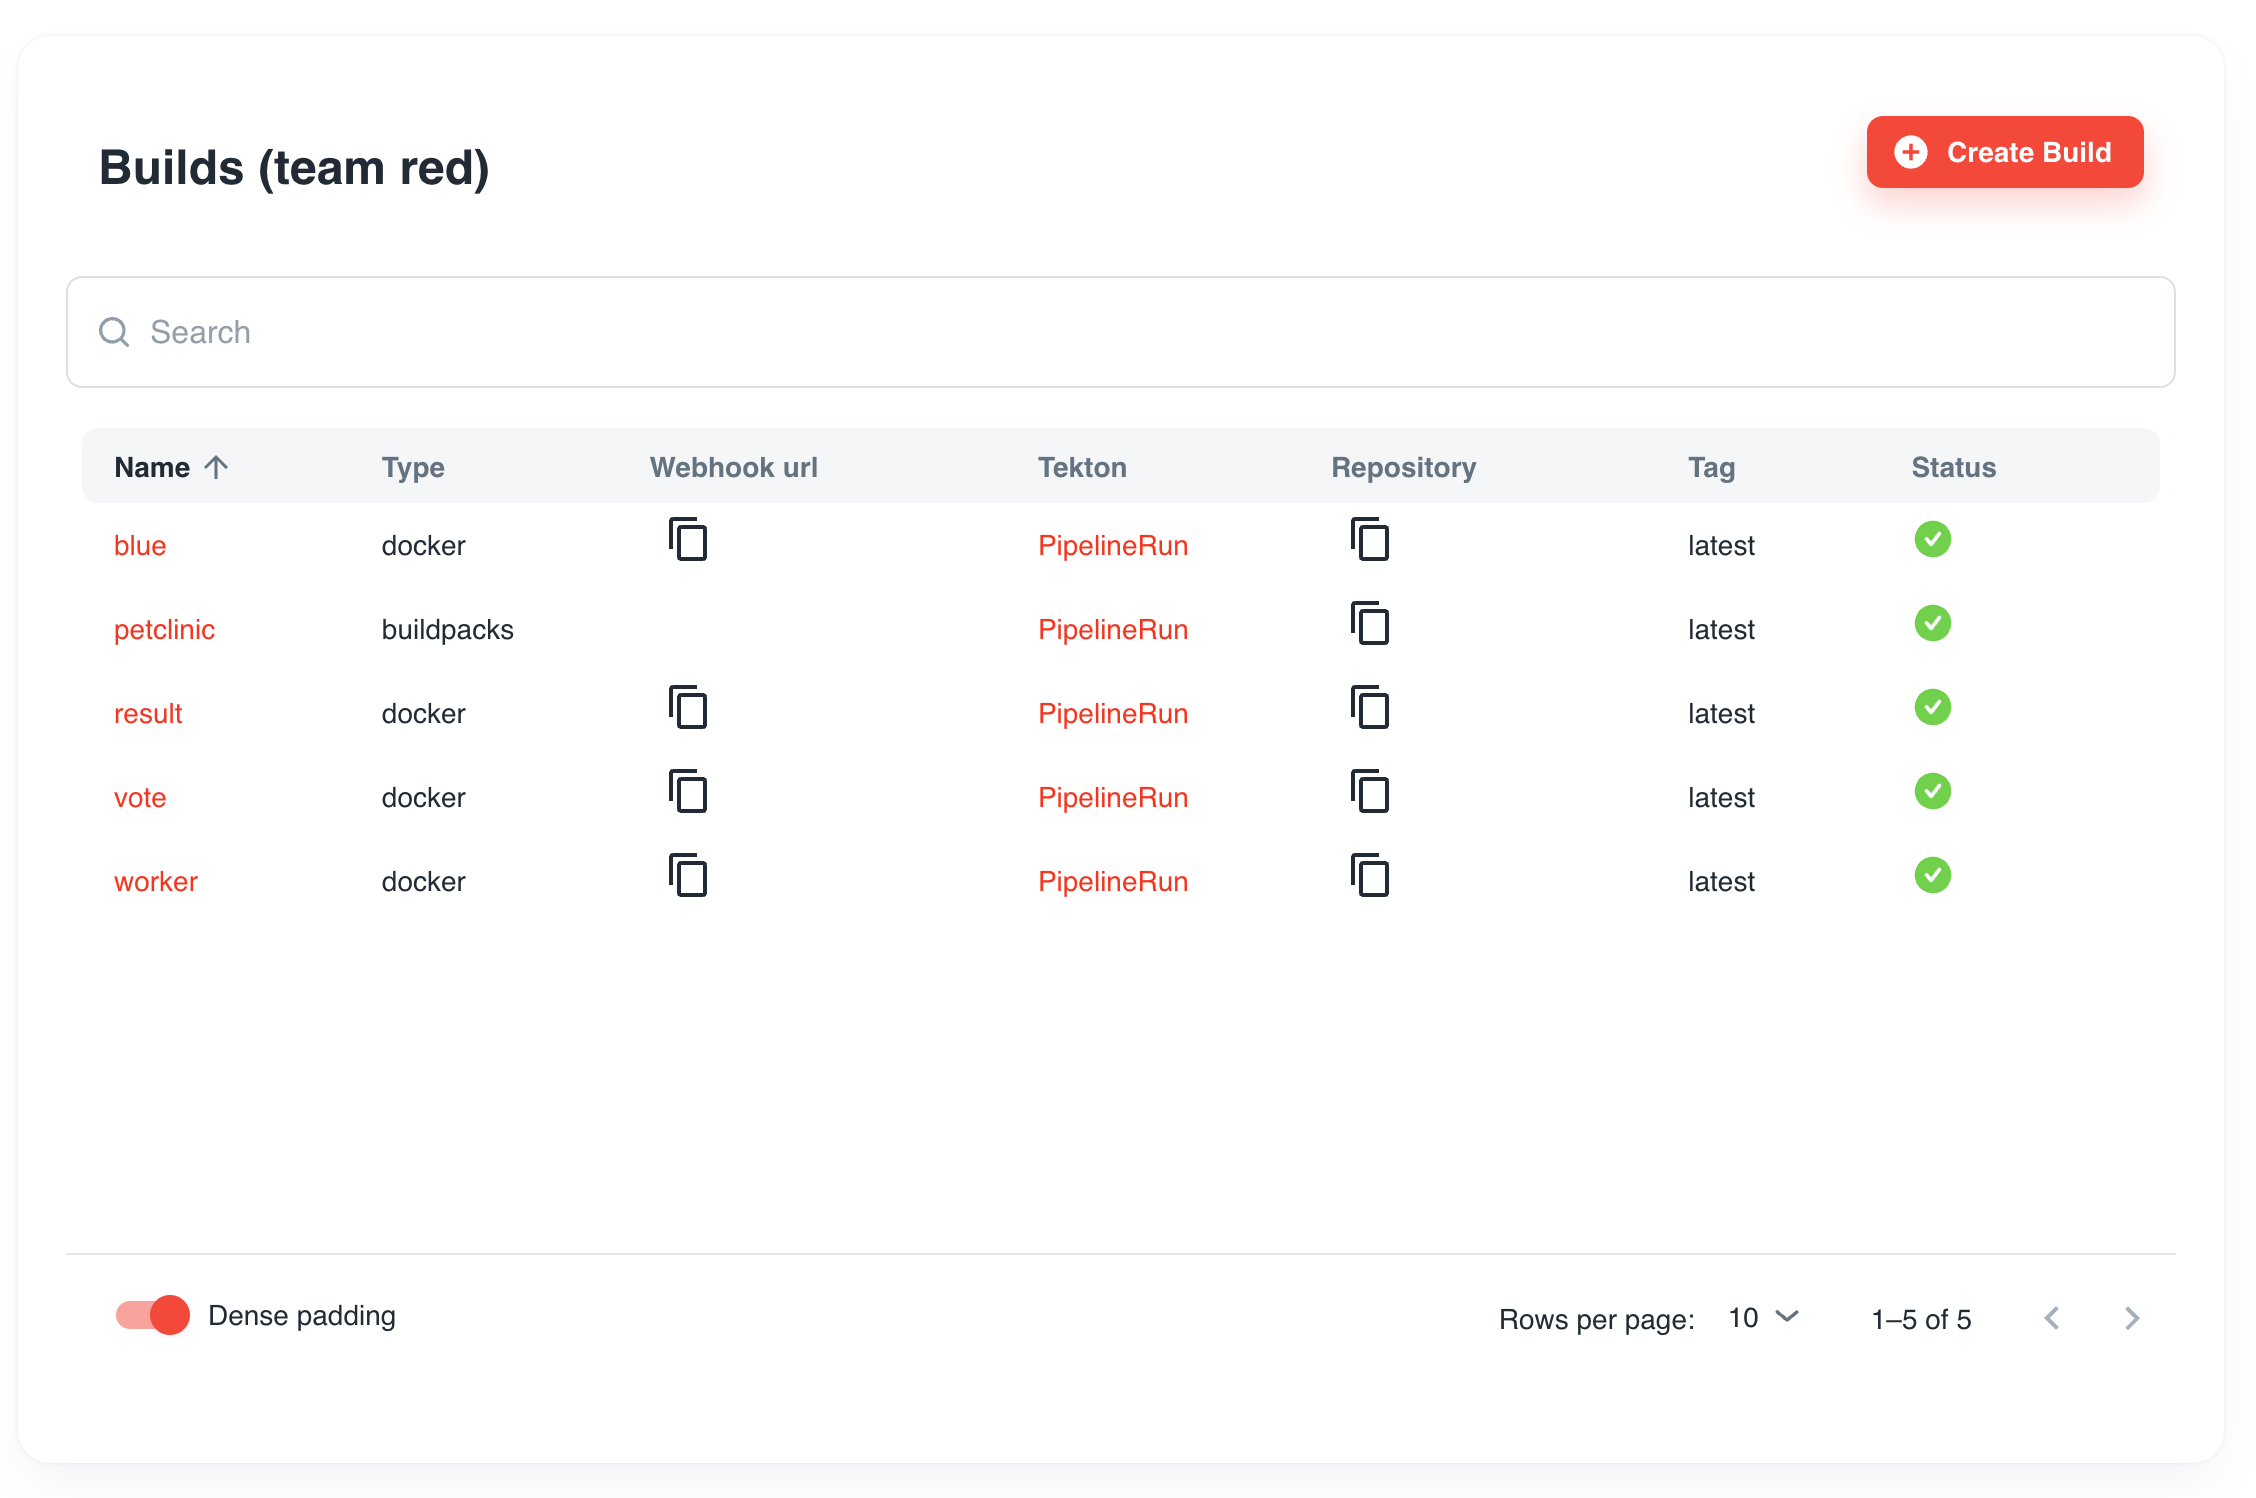
| Property | Description |
|---|---|
| Name | The name of the build |
| Type | Type of the build. buildpacks or docker |
| Webhook url | The copy to clipboard webhook URL if a trigger is configured for the build |
| Tekton | Link to the `PipelineRun`` of the build in the Tekton dashboard |
| Repository | The copy to clipboard repository name of the image |
| Tag | The tag of the image |
| Status | The status of the Build. If the Build has failed. click on the Tekton link to see more details |
Create a build
- Enter a name for the build
The name of the build will be used for the registry name of the image (harbor.<domainSuffix>/team-name/build-name)
- (optional) Adjust the tag
The tag will be used to tag the image (harbor.<domainSuffix>/team-name/build-name:tag)
Now choose the type of the build:
- Use
Dockerto build an image using the./Dockerfilein your code repository - Use
Buildpacksto build an image from application source using Buildpacks
Docker
- Add the URL of the repository that contains the application source code.
- (optional) Change the path of the
Dockerfile. Default is./Dockerfile. To use a Dockerfile is a specific folder, use./folder/Dockerfile. - (optional) Change the revision. This can be a commit, a tag, or a branch.
- (Optional) Select
External Repoif the repository used for the Build is not a public or a private Git repo in the local Gitea. When selected, fill in the secret name that contains the required SSH credentials. Read more here about how to setup SSH authentication with your Git provider. - (optional) Select to create an event listener to trigger the build based on a Gitea webhook.
Buildpacks
- Add the URL of the Git repository that contains the application source code
- (optional) Add the path. This is a subpath within the repo where the source to build is located
- (optional) Change the revision. This can be a commit, a tag, or a branch
- (optional) Add Environment variables to set during build-time
- (Optional) Select
External Repoif the repository used for the Build is not a public or a private Git repo in the local Gitea. When selected, fill in the secret name that contains the required SSH credentials. Read more here about how to setup SSH authentication with your Git provider. - (optional) Select to create an event listener to trigger the build based on a Gitea webhook.
Build status details
To see the more status details of the build, click on the PipelineRun link of the build in the list of builds. If a trigger is configured, the link will show all PipelineRuns.
Configure a webhook for the Git repo in Gitea
- In Otomi Console, click on
appsthe left menu and then openGitea - In the top menu of Gitea, click on
Exploreand then on thegreenrepo - Go to
Settings(top right) and then toWebhooks - Click
Add Webhookand selectGitea - In the
Target URL, paste the webhook URL from your clipboard. - Click
Add Webhook
Expose the trigger listener publicly
When using an external (private) Git repository, the trigger event listener that is created by Otomi can also be exposed publicly. To expose the event listener publicly:
- Go to Services
- Click create new service
- Select the
el-gitea-webhook-<build-name>internal service - Under
Exposure, selectExternal - Click
Submitand theDeploy Changes
Restart a build
To restart a build:
- Start a shell in the console
- run the following command:
tkn pipelineruns list
tkn pipelinerun logs <pipelinerun-name> -f
Build can be restarted by changing the tag of the build or by restarting the pipeline manually:
- Start/open a shell in the console
- run the following command:
tkn pipelines list
tkn pipeline start <pipeline-name> --use-pipelinerun <pipelinerun-name>