Create a private Git repo
As a developer you'll need a Git repository for your code. Most organizations will probably have a central code repository like Gitlab, or use Github. But if you don't, Otomi has you covered. Otomi includes a complete self-hosted Git solution called Gitea.
As a team member, you can create and manage your own repositories.
Team members first have to sign in to Gitea (using OpenID), after which they are automatically added to the correct team.
The otomi-admin account is unable to login with OpenID, this account needs to login with the user/password login form.
In the labs we'll be using a Team called labs and a user called labs-user.
Using a Git client
Gitea in Otomi only supports HTTPS for Git authentication. To connect to Git using HTTPS you'll first need to add a password to your account in Gitea:
- Sign in to Gitea using OpenID
- Click on your account (top right) and then click
Settings - Fill in a password in the
Accounttab
After adding a password, you can now authenticate using your username (labs-user) and the password created in Gitea.
Create the private repository
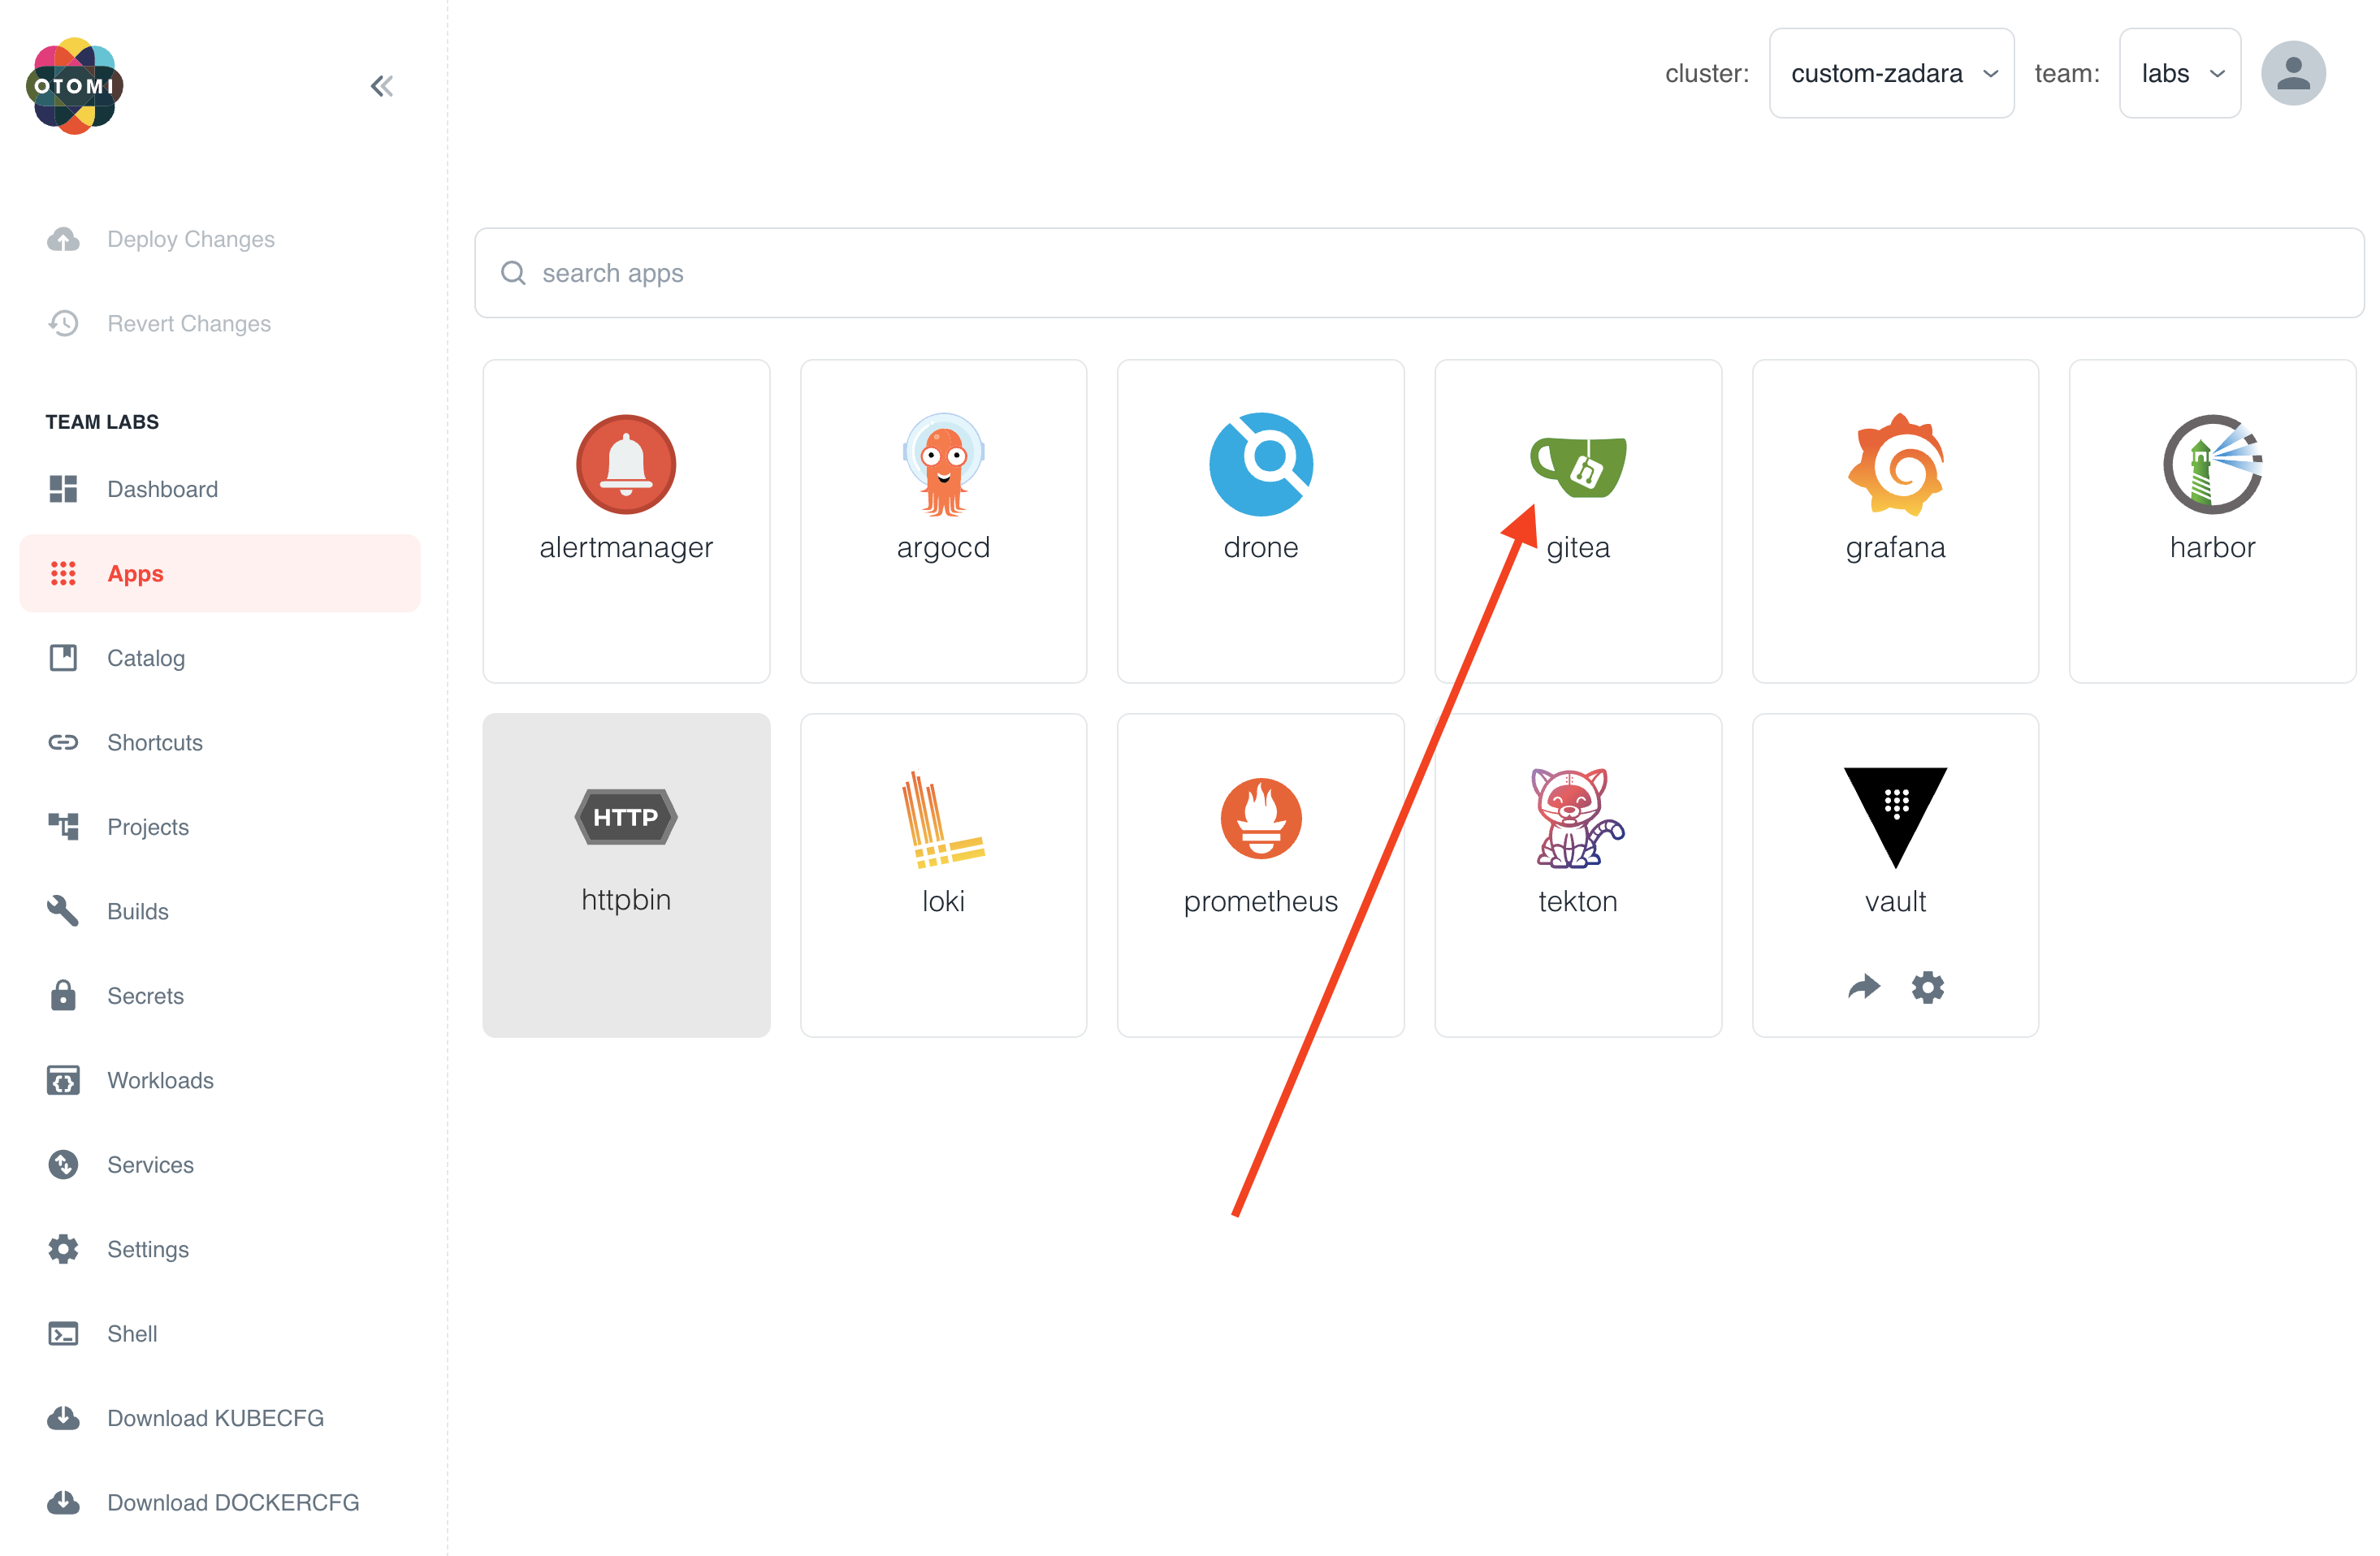
In the apps section in Otomi console, you'll see an app called Gitea. Click on it.
Now follow these steps:
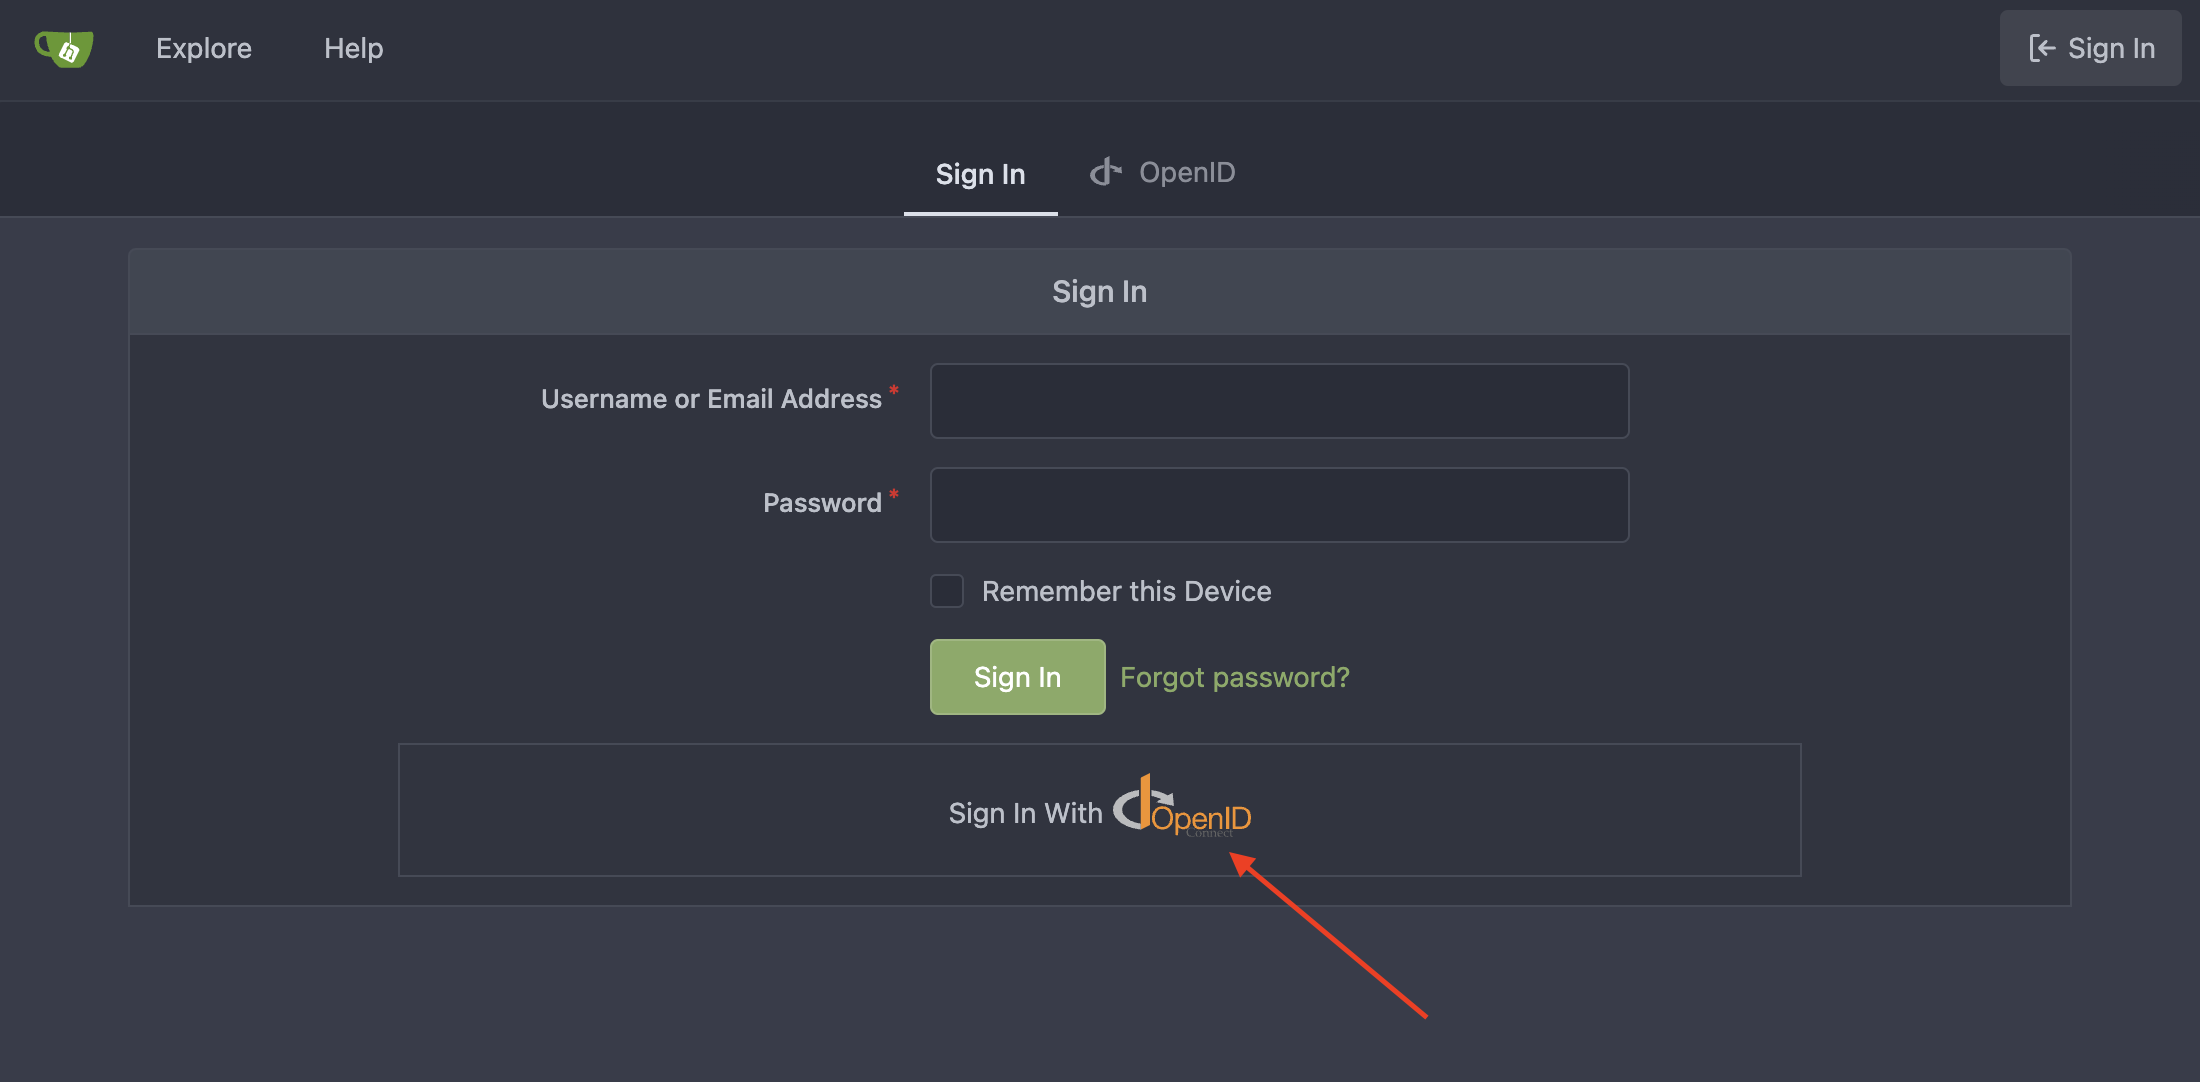
- Click on
Sign Inwith OpenID
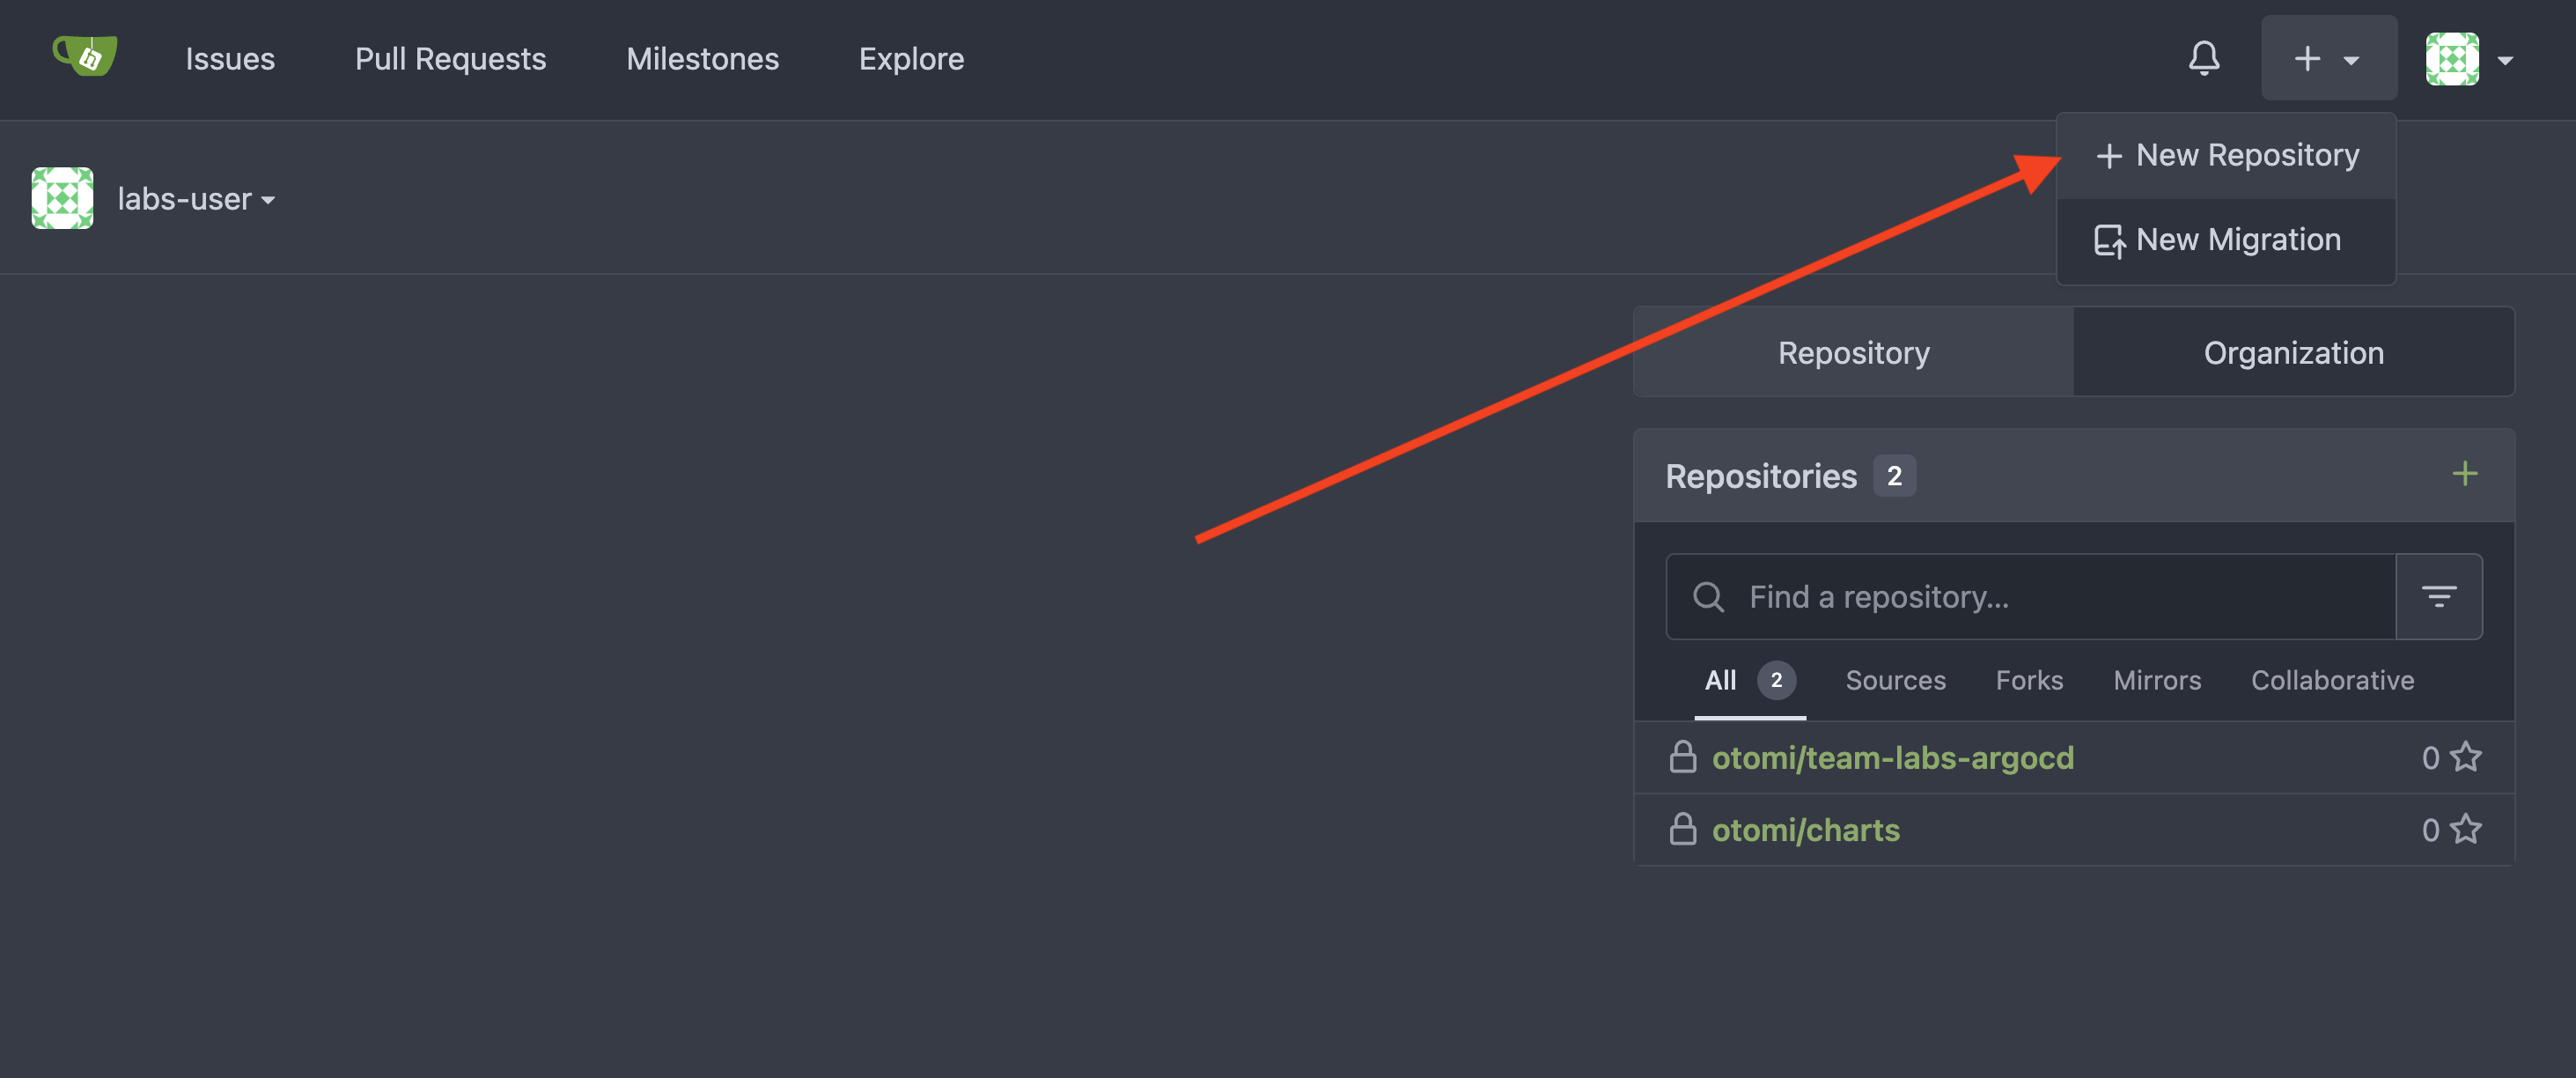
- Click on
+ New Repository
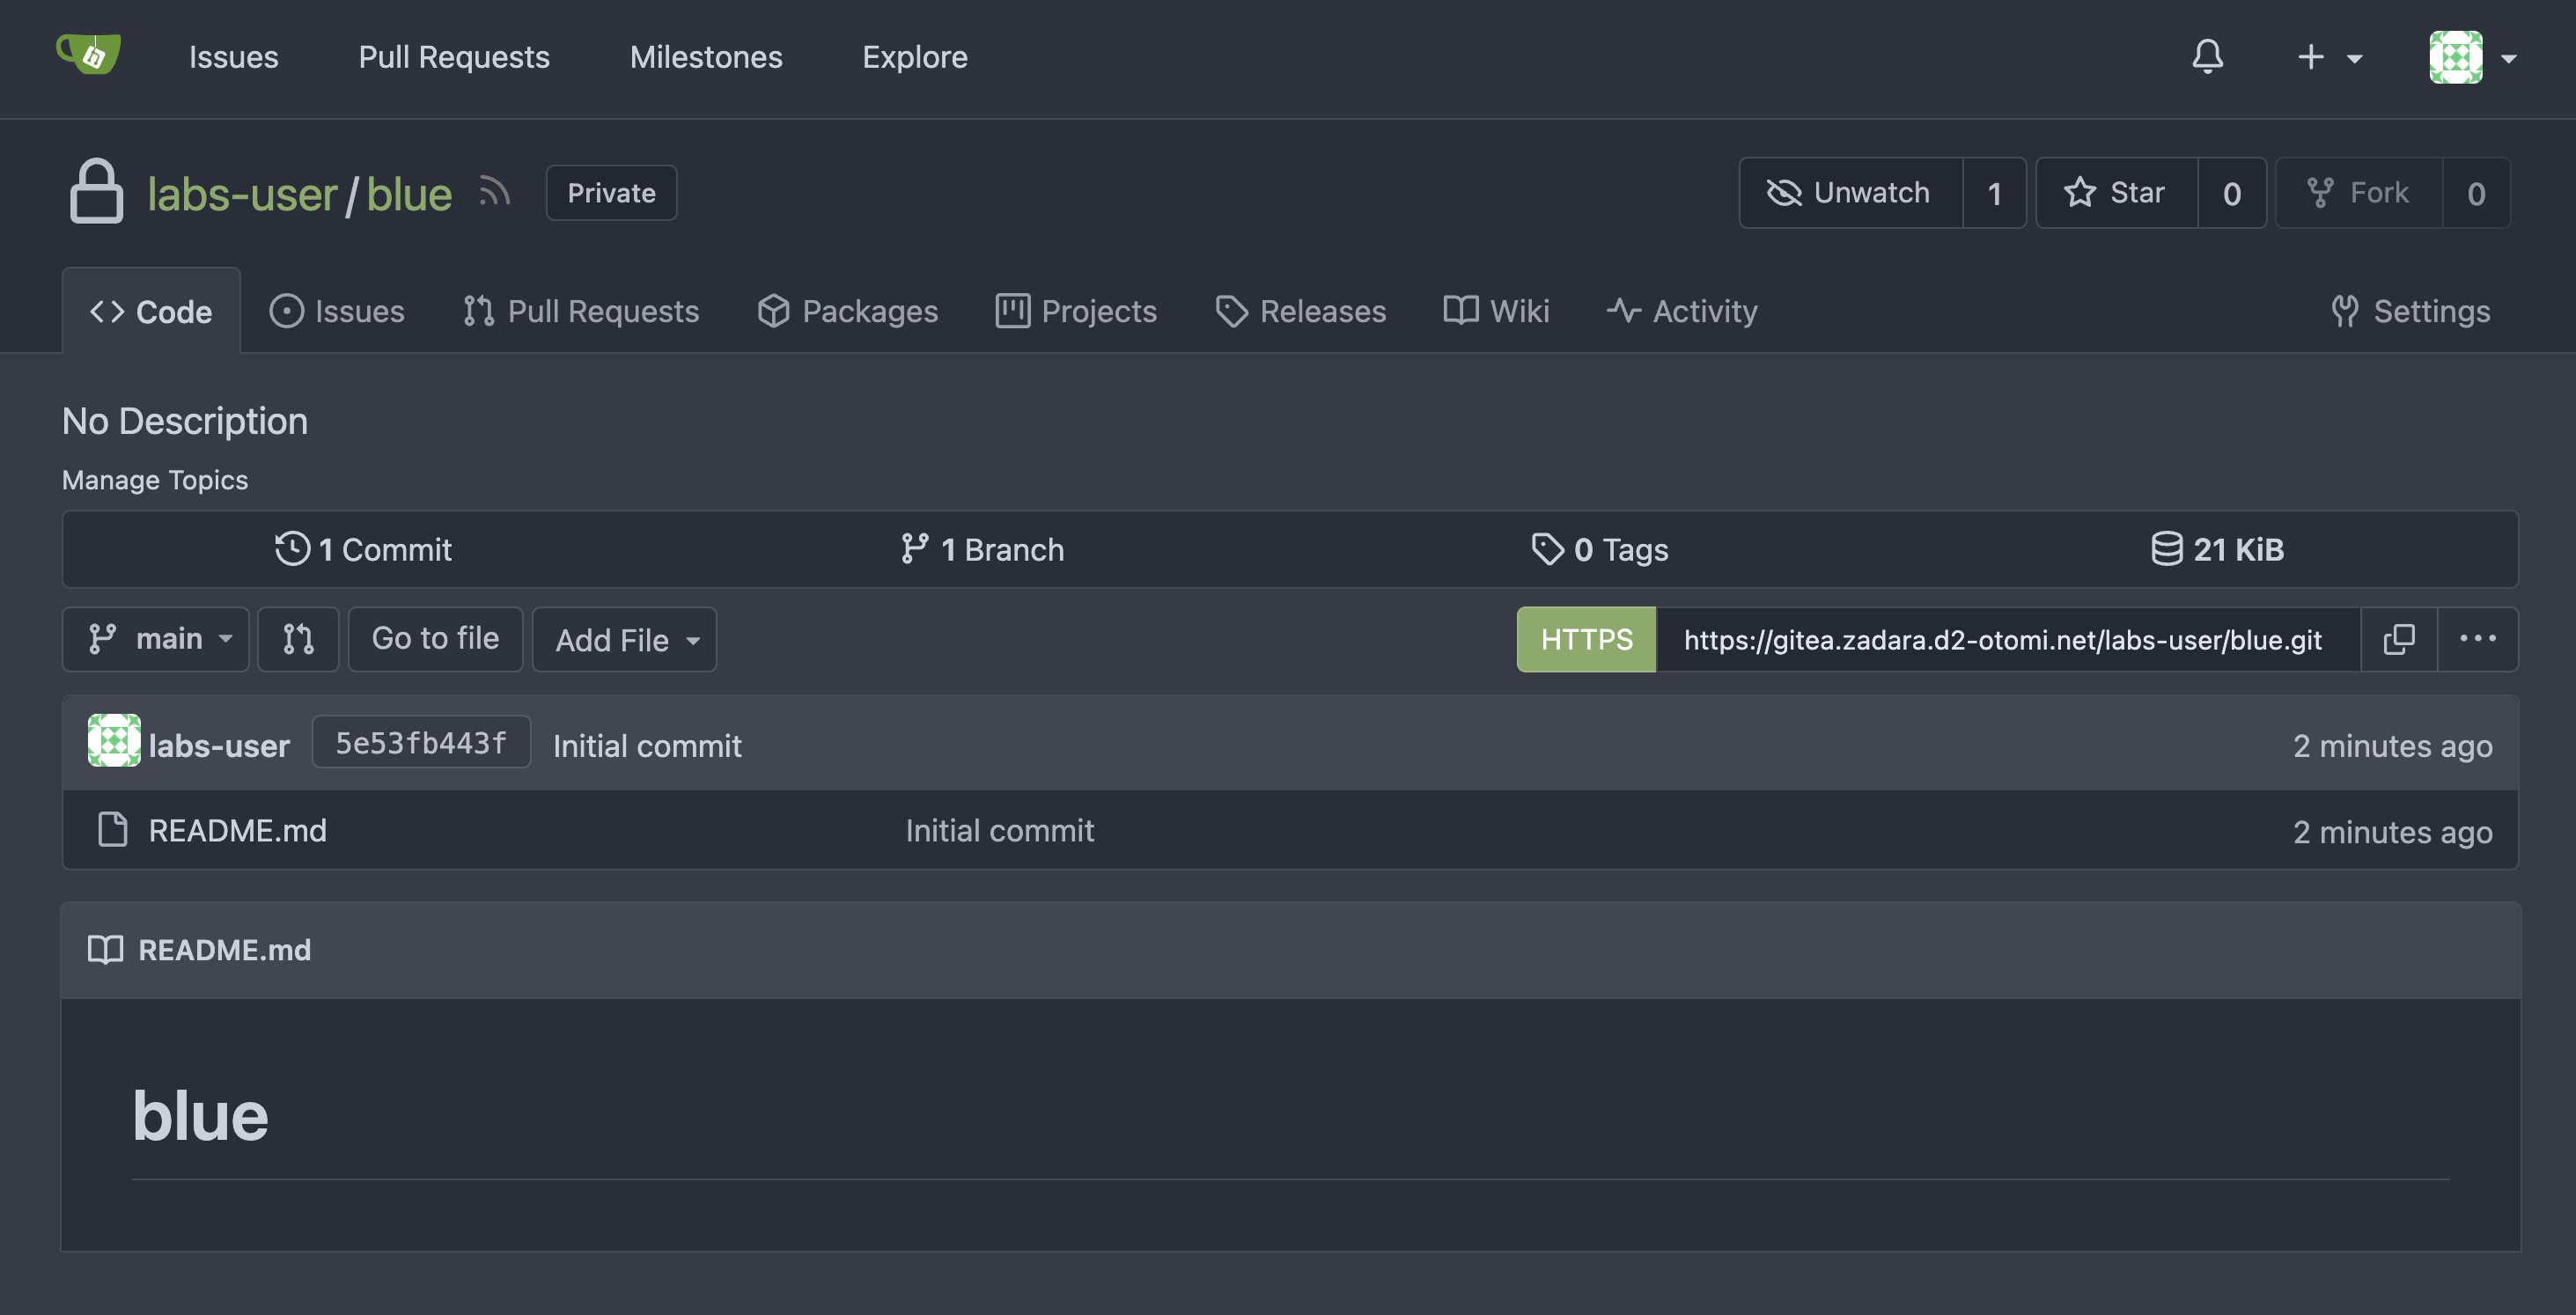
- Add the name
bluefor the repository - Optional: Enable
Initialize Repository - Make Repository Private
- Click on
Create Repository
Your repo is now ready to be used!
Add the following 2 files to the repository:
Add Dockerfile:
FROM nginxinc/nginx-unprivileged:stable
COPY blue.html /usr/share/nginx/html/index.html
EXPOSE 8080
Add blue.html:
<!DOCTYPE html>
<html>
  <head>
    <meta charset="utf-8" />
    <title>Sample Deployment</title>
    <style>
      body {
        color: #ffffff;
        background-color: blue;
        font-family: Arial, sans-serif;
        font-size: 14px;
      }
      h1 {
        font-size: 500%;
        font-weight: normal;
        margin-bottom: 0;
      }
      h2 {
        font-size: 200%;
        font-weight: normal;
        margin-bottom: 0;
      }
      .centered-text {
          text-align: center;
      }
    </style>
  </head>
  <body>
  <div class="centered-text">
      <h1>Welcome to Blue</h1>
  </div>
  </body>
</html>
In the following labs we are going to use the blue repository, but we'll also need a green repository. Create the green repository and add the 2 files, but change blue into green.
- Click on
+ New Repository
- Add the name
greenfor the repository - Optional: Enable
Initialize Repository - Make Repository Private
- Click on
Create Repository
Add the following 2 files to the repository:
Add Dockerfile:
FROM nginxinc/nginx-unprivileged:stable
COPY green.html /usr/share/nginx/html/index.html
EXPOSE 8080
Add green.html:
<!DOCTYPE html>
<html>
  <head>
    <meta charset="utf-8" />
    <title>Sample Deployment</title>
    <style>
      body {
        color: #ffffff;
        background-color: green;
        font-family: Arial, sans-serif;
        font-size: 14px;
      }
      h1 {
        font-size: 500%;
        font-weight: normal;
        margin-bottom: 0;
      }
      h2 {
        font-size: 200%;
        font-weight: normal;
        margin-bottom: 0;
      }
      .centered-text {
          text-align: center;
      }
    </style>
  </head>
  <body>
    <div class="centered-text">
      <h1>Welcome to Green</h1>
    </div>
  </body>
</html>