Create projects
A Project in Otomi is a collection of a Build, a Workload and a Service. The benefit of using Projects is that you can create a Build, a Workload and a Service in one run. Projects are ideal for developers to run multiple code branches next to each other and automatically update the deployment based on a push. In this lab we are going to create a Project and see how everything now comes together is one simple form.
It is currently not possible to create a Project using the Auto Image Update feature. We are trying to resolve this as quick as possible. If you would like to try the Auto Image Update feature, first create a Build using a Trigger and then create a Workload.
Create a new Git repository
- Create a new repo called
nodejs-helloworld - Set the Default Branch to
master - Clone the Hello World Sample Application:
git clone https://github.com/redkubes/nodejs-helloworld
cd nodejs-helloworld
- Mirror the Hello World Sample Application to your
nodejs-helloworldrepo:
git push --mirror https://gitea.<your-domain>/<your-user-name>/nodejs-helloworld.git
Create a Project
- Go to
Projectand clickCreate Project - Fill in a name for the Project. This name is used for the Build (the name of the image) and the Workload. The Service will automatically select the ClusterIP service name based on the Workload name
- Click
Create build from source - Click
Next - Choose
Dockerand fill in the repository URL of thenodejs-helloworldrepository - Enable
Trigger - Select the
Digeststrategy for theAuto image updater - The
imageRepositoryis already filled in. Make sure thetagis identical to the tag used for the Build - Use the default Chart values
- Click
Next - Under
ExposureselectExternal - Click
Submit
Get the webhook URL
Before we can configure the webhook for the nodejs-helloworld repo in Gitea, we will need the webhook URL. You can find this webhook URL for your build in the list of Builds. Add the webhook URL to your clipboard.
Also notice that the status of the Build shows an exclamation mark. This is because Otomi created the Pipeline, but the PipelineRun is not yet created because it was not triggered yet.
Create a Webhook
- In Otomi Console, click on
appsthe left menu and then openGitea - In the top menu of Gitea, click on
Exploreand then on thenodejs-helloworldrepo - Go to
Settings(top right) and then toWebhooks - Click
Add Webhookand selectGitea - In the
Target URL, paste the webhook URL from your clipboard. - Click
Add Webhook
Trigger the build
You can now trigger the build by doing a commit in the nodejs-helloworld repo, or by testing the webhook. Let's test the webhook:
- In Gitea, go to the
Settings(top right) of thenodejs-helloworldrepo and then toWebhooks - Click on the webhook we just created
- In the bottom, click on
Test Delivery
Check the status of the Workload
Go to Workloads and click on the Argo CD application link of the Workload created by the Project. What do you see? The Argo CD application is still in a Degraded state because the image build has not completed yet. When the build in finished and the image can be pulled, the status of the application will automatically become Healthy.
Check the status of the Service
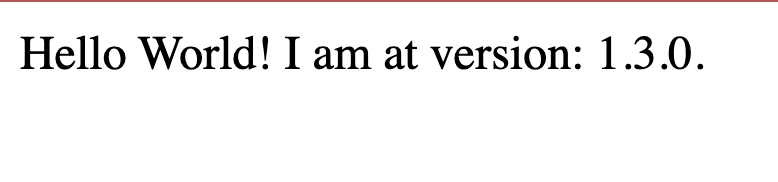
When the state of the Workload becomes Healthy, the URL of the Service created by the Project will show the following page:
Change the code and push the commit
- Go to the
hello-worldrepository - Edit the
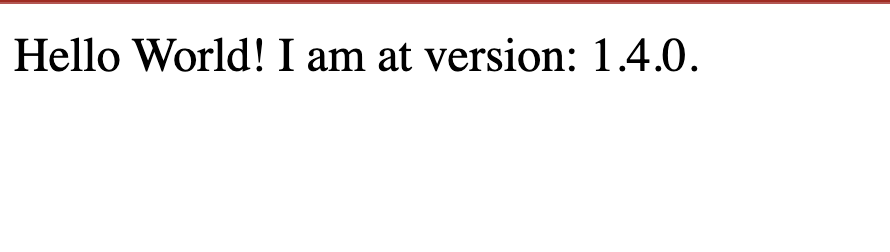
package.jsonand set theVersionto1.4.0 - Commit the changes
Check the URL again. After a couple of minutes you will see the following page: